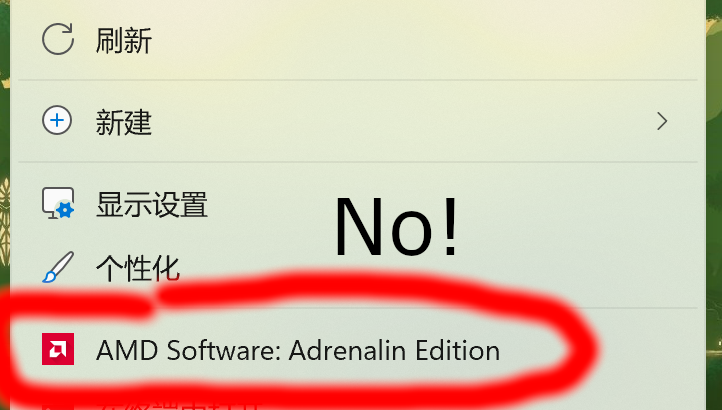
I just bought a Lenovo 14p Gen 3 laptop with preinstalled Windows 11. Since it is an AMD-based laptop, it has an AMD configuration software installed, namely AMD Software: Adrenalin Edition. It provides several useful features for screen display. However, the annoying thing is that it adds an extra entry in Windows 11’s default Context Menu. Luckily, there is a way to block such entry without uninstalling the AMD software.
Desktop right click menu, showing the annoying “AMD software: Adrenalin Edition” entry.
Steps to hide entry using Regedit
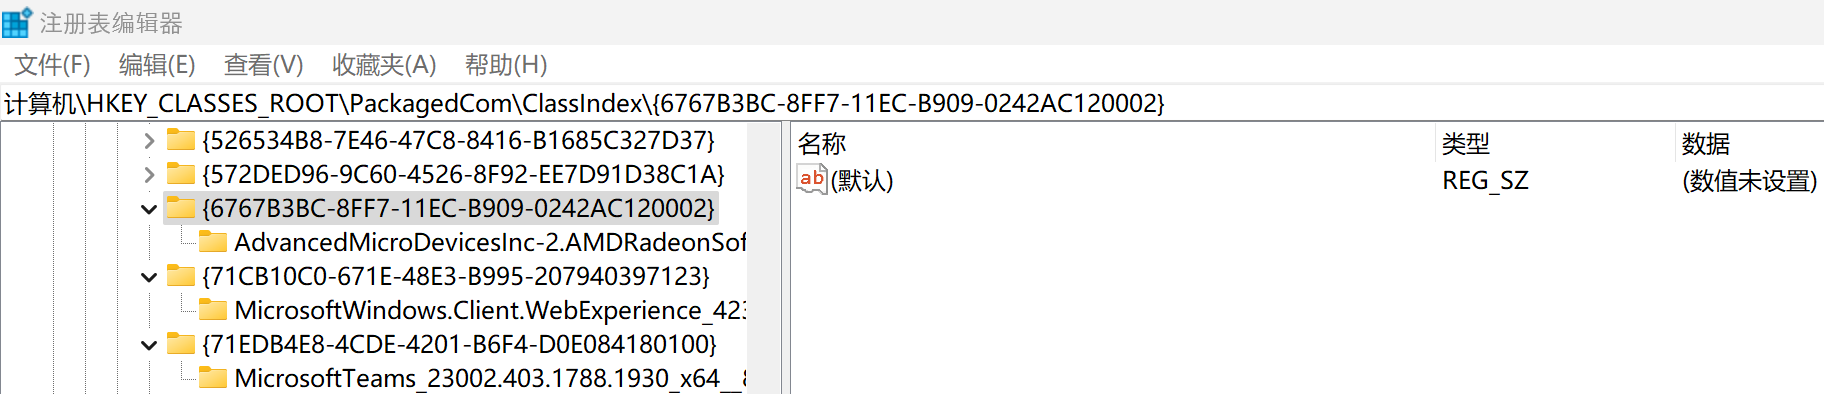
Open regedit.exe and visit \HKEY_CLASSES_ROOT\PackagedCom\ClassIndex\. There should be several tens of entries (keys) under that, all named after {UUID}.
Expand all entries you saw in Step 1 and look for the entry containing keyword AdvancedMicroDevicesInc (“AMD”). Once you find it, copy its corresponding UUID string. We will use it in the steps below. In this case, the UUID starting with 6767... is what we need.
Open regedit.exe and visit \HKEY_LOCAL_MACHINE\SOFTWARE\Microsoft\Windows\CurrentVersion\Shell Extensions\. There should be three keys under Shell Extensions: Approved, Blocked, and Cached. If there is no Blocked key on your system, manually create it by right-clicking Shell Extensions, and create a new key named Blocked.
Enter Blocked key (which appears as a directory in regedit tool). Under directory Blocked, create a new String (aka type REG_SZ). Rename the String as {UUID}, in which UUID is the same UUID as we found in Step 2. Example of final result under Shell Extensions\Blocked key
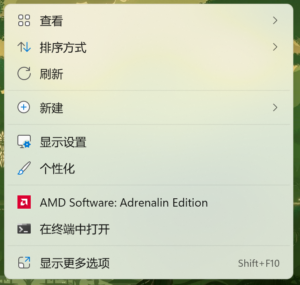
Go back to desktop and try with right click. If everything is done correctly, the AMD Software entry will immediately disappear in the right-click menu.
If you want to revert our modification, simply delete the value we created in Step 4.
Remove amd software from right click context menu. This is essentially the same approach as in my texts, except that the UUID in this article has changed and in lack of explanation about how to determine the correct “Blocked” UUID.
TL;DR: Pbuilder-related tools are ineffective and redundant. By installing sbuild and schroot, one can set up clean and reusable chroot environments quickly and use the sole sbuild command to build Debian source packages (using src tree or .dsc files).
Fade away please pbuilder/cowbuilder; long live sbuild!
Quick example
Install tools and preparation
sudo apt update;
sudo apt install sbuild schroot;
sudo mkdir -p /var/lib/sbuild/chroots; # the last component is made by us
sudo chown sbuild:sbuild /var/lib/sbuild/chroots;
Initialize a chroot environment using sbuild-createchroot
# Assume host machine is of x86_64 architecture, create an unstable chroot
sudo sbuild-createchroot unstable /var/lib/sbuild/chroots/unstable-amd64 \
  --alias=sid --alias=UNRELEASED http://deb.debian.org/debian;
Keep (s)chroot environment updated
sudo sbuild-update -ud unstable;
Build a Debian package using sbuild with previously created chroot environment
# If you want to drop superuser privilege, add yourself into sbuild group first.
# Other settings might be needed. See sbuild-adduser(1).
# #################################
# Option 1: have proper Debian source package
sbuild -A -v -d unstable /path/to/package.dsc
#
# Option 2: chdir into extracted source tree with .orig tarball in parent directory
sbuild -A -v -d unstable
# Option 3: integrate with git-buildpackage (gbp)
gbp buildpackage --git-builder=sbuild -A -v -d unstable
#
# Notes:
# 1. If you need source-only changes (https://wiki.debian.org/SourceOnlyUpload),
#    append "--source" to sbuild's invocation
# 2. If you want to sign your build, append "-kxxxxxxxx"
#    to your sbuild's invocation, where xxxxxxxx is you gpg keyid
How to destroy schroot environment properly
If you do not wish to use schroot and sbuild anymore, you may use the following tool to properly destroy the schroot environment:
# Destroy the chroot instance named "unstable"
sudo sbuild-destroychroot unstable
# This script actually does nothing other than providing instructions.
# You will need to follow the printed instruction and safely
# destroy the schroot instance by yourself.
The Document Object Model, or “DOM,” is a cross-language API from the World Wide Web Consortium (W3C) for accessing and modifying XML documents. A DOM implementation presents an XML document as a tree structure, or allows client code to build such a structure from scratch. It then gives access to the structure through a set of objects which provided well-known interfaces.
来源:python3-doc 20.6节
昨晚抽风一般地想要学学 ed 究竟应该怎么用,于是花了十多分钟学习了一下基础用法,可以保证在紧急情况下“存活”。稍微整理一下自己学到的用法:
调用
ed [file]
一般使用
如果是创建新文件的话,进入程序后除了光标什么都不会显示;如果是打开已有文件,那么会显示一行文件大小的字节数,然后光标到下一行等待用户输入。
ed 是基于行的文本编辑器,也就是说同时只能显示或编辑文件的某一行。和 Vi 类似,存在两种模式:输入模式和命令模式。默认打开文件后进入命令模式。
既然是基于行的编辑器,那么 ed 有一个“当前行”的概念,可以使用 n 查看之,会打印出当前所在行号。默认打开文件后自动跳转至文件末尾(也就是最后一行)。
在命令模式下输入编辑器不认识的命令,会回显一个问号 ? 表示输入错误。
文字输入
切换至输入模式的命令如下:
a,在当前行的下一行开始插入文字;
i,在当前行的上一行开始插入文字;
c,抹除当前行的所有文字,重新输入。
注意 c 命令的危险性。
切换至输入模式后,就请随意地打字吧,回车也会忠实地写入文件。缺点是没有办法修改回车符以前的输错的文字。如果想修改,必须退出当前的输入模式再尝试修改。
补充说明,如果你想要删除文字,可以在定位到某行之后,配合使用 c 与 . 来达到删除所在行的目的。
如果想退出输入模式,在新行输入 . 即可。就是英文句点。
导航
以下导航命令当然是在命令模式下。
直接输入行号并回车,跳转到对应行,并回显对应行的文字(不带行号)。
输入回车,会跳转到下一行,并回显对应行的文字(不带行号)。
输入 . ,会重复显示当前行的文字(不带行号)。
输入 n,会回显当前行的文字(带行号)。
保存与退出
在编辑已有文件的时候,输入 w 可以进行保存,回显新文件的字节大小。
在编辑新文件时,需要在 w 后接上文件名。回显相同。
按 q 可以退出编辑器。在没有保存文件的时候,则必须用 Q 强制退出。当然 ctrl+c 是没有用的。